Tuesday, March 24, 2009

Using SCAL for Fancy Schmancy Designs

For those of you who do not have a Cricut, go no further. This will not excite you as much as those of us who do have SCAL or MTC and a Cricut. All right, I can see a few of you scratching your heads wondering what I am talking about. YOU THERE...go do something else, leave us Cricuteers alone to do our thing.

I found a fantastic font called Nymphette, and it is on http://www.dafont.com/. It is actually a dingbat of some nice flourishes to use. Don't be put off if something seems a bit too skinny to use. You can always change it in SCAL or MTC by giving it a Shadow.
Here is what it looks like with two of the flourishes and how I added the 2 circles to join it all together.

This is a simple way to do something in SCAL without the use of Inkscape. For those of you that do not want to tackle Inkscape this is one way you can make your own designs in SCAL. Just remember to click weld on everything you intend on putting together. You must overlap things in order for it to be welded. You can check if it is welded or not by going to the little magnifying glass by the scissors and clicking on it. It will outline in red all the areas it is going to cut.

Hope this helps someone and I hope it helps others to get creative just using SCAL or MTC.
Have fun!

Wednesday, March 18, 2009

How to Outline with Cricut Markers

Well, I have been way too busy doing nothing so I thought I should put something on here that someone that has a Cricut can actually get some use out of.
This is what I do to make a "sorta" printer out of my Cricut.

First of all you need to buy some of the Cricut pens. I have seen other people say they use all kinds of other things but I just happened to have bought all the colors because they were on sale and I just like to collect things for my hobbies.

SO....Here we go....

First of all, whenever you are putting that pen any where near the Cricut cutting area, PLEASE be sure to put a piece of waste cardstock under the pen/cutting area or you will be marking the paper you are going to use or the carriage of the Cricut. I am speaking from experience here!


Second Step:
Be sure to seat the pen in properly. There is a little indentation on it so be sure to have it in there.

Third Step:
OK...now select the design you want. If it is from a cartridge, select size. Push "Cut". This will start it printing out the picture.
It will stop below what has already been printed. Here is it all printed out.


Fourth Step:
Hit the "Load Paper" button and it will go back to home base. Put your waste paper under the pen and change to the cutting housing. Put pressure back to whatever you need for the kind of paper you are cutting. (If I use heavy cardstock I use pressure of 5 and needle depth of 3.)

Fifth Step:
Hit the "Repeat Last" button and then hit the "Cut" button and it will cut the same thing it just printed right on the same lines it printed out.

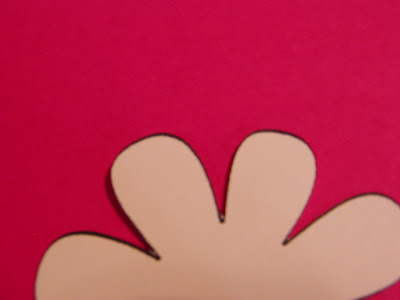
Here is a picture of what was cut out and I am trying to show you how much of the line there is left of it.


This was a black marker that I used.

If anyone is actually using the pencil grips or any other type of pen I sure would like to see it in action.